How to make a GIF with GIMP
Overview
Before starting make sure you have a list of images to create a GIF. And make sure GIMP1 is installed on your system.
1. Add your images
Two methods:
- Drag and drop all your images, one at a time into GIMP. Otherwise you will be opening multiple projects if done all at once.
- Or
File > Open as Layers...to open all images as layers.
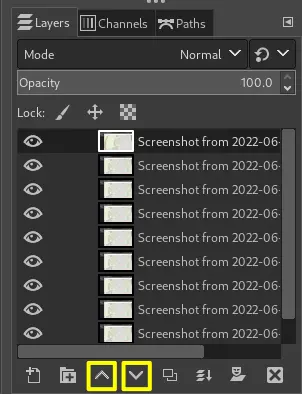
Make sure to sort your images in the layers panel in such a matter that the first frame is on the bottom. Use the Up and Down arrows in the panel to move the layers to correct spot.
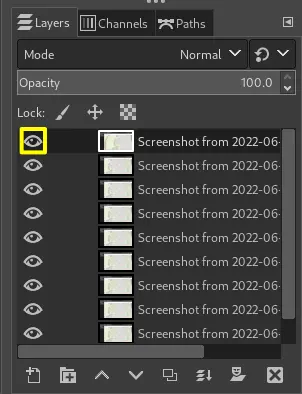
Remember that the top most viewable layer is the one with the Eye icon activated. Turn on and off this icon to have a quick preview of how the change will activate the future GIF animation.
2. Align images
Make sure to cycle through all the images by turning on and off to see if there are any alignment errors.
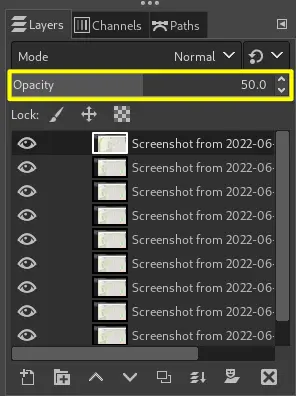
If there is, then the top of the two layers should have its opacity=50.0 or any other value to easily align the two layers.
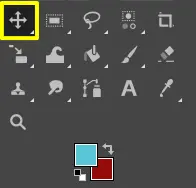
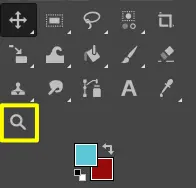
Take the Move Tool and move the top layer until it aligns with the lower level. If needed zoom in better to see the differences by using the Zoom Tool. Best is to choose an area that has sharp edges.
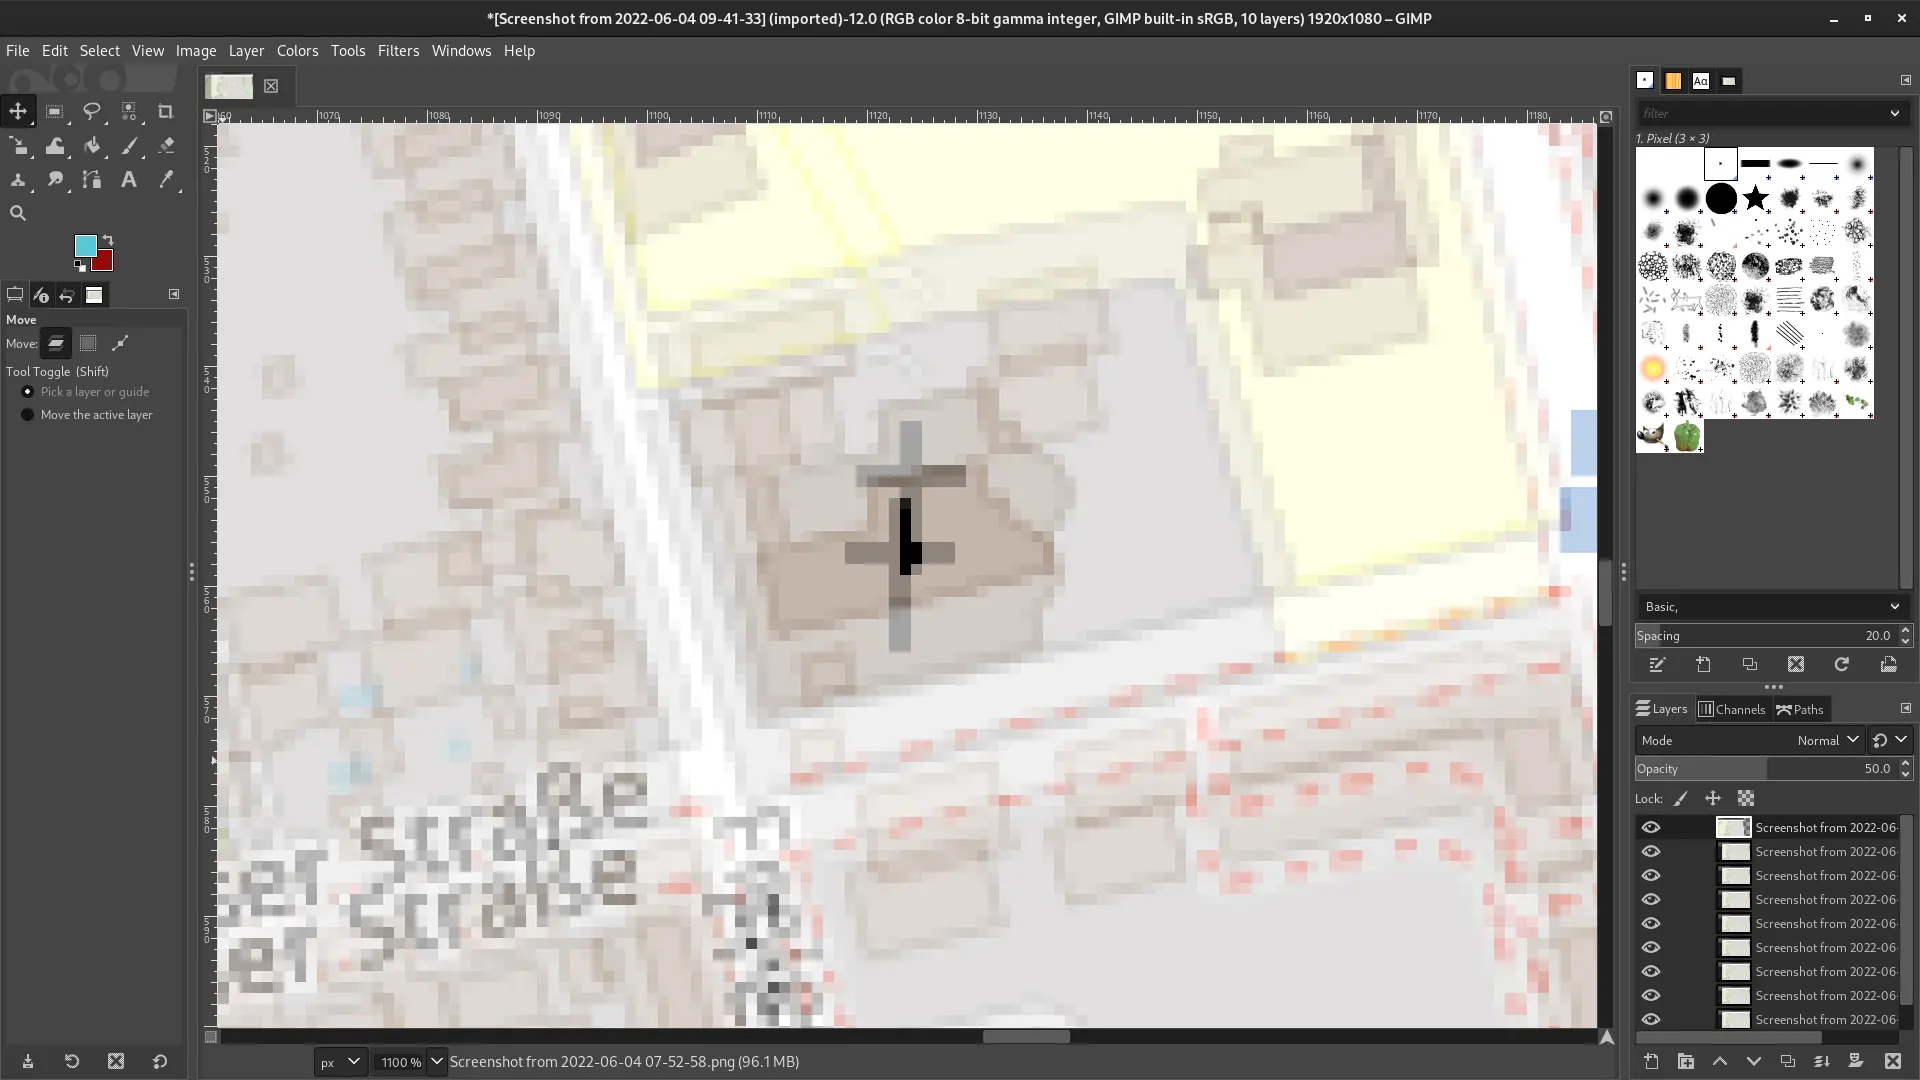
For fine tune moving, you can use the arrow keys to move by one pixel at a time.
Once the alignment is perfect, remember to put the opacity=100.0 again.
3. Crop the area (optional)
Use the Crop Tool to only animate a small area.
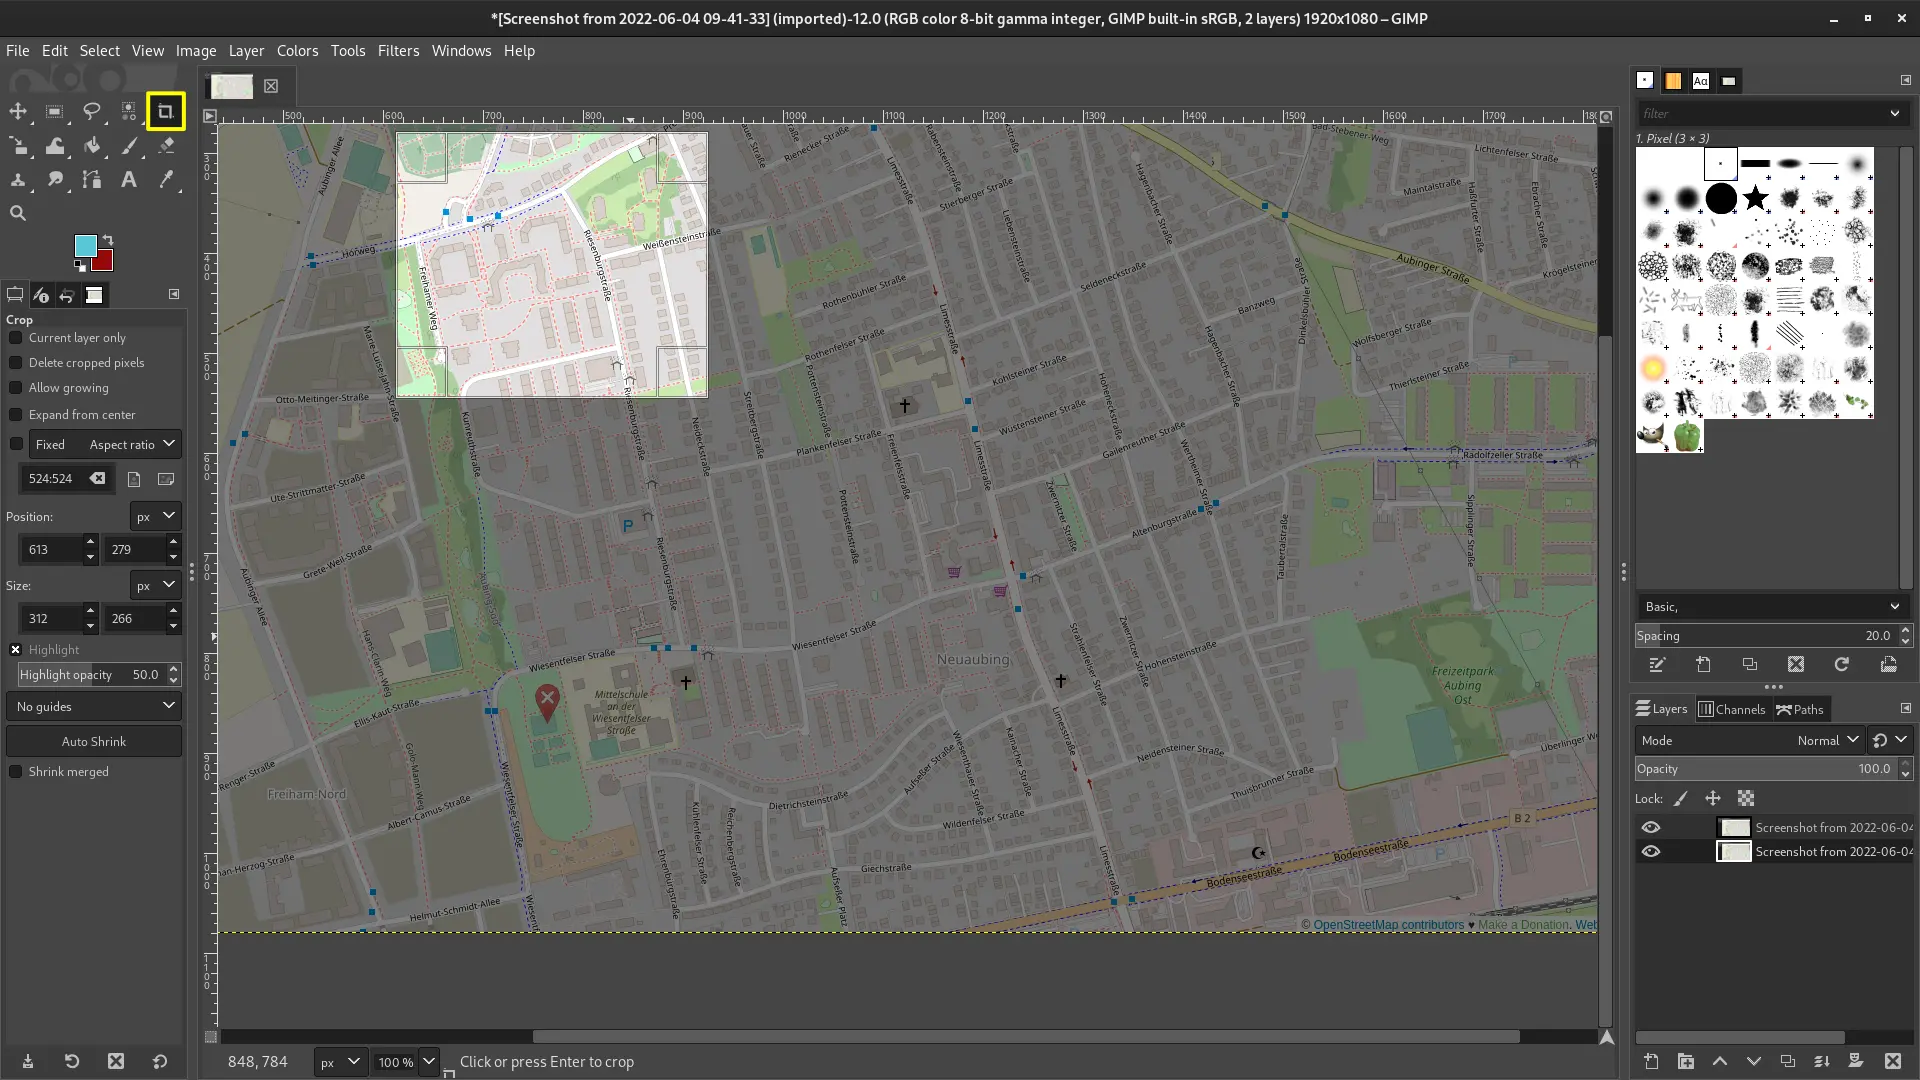
You can adjust the corners before confirming the crop by pressing the ENTER key.
4. Export the image as a GIF
Go to File > Export As...
Make sure to change the extention to .gif
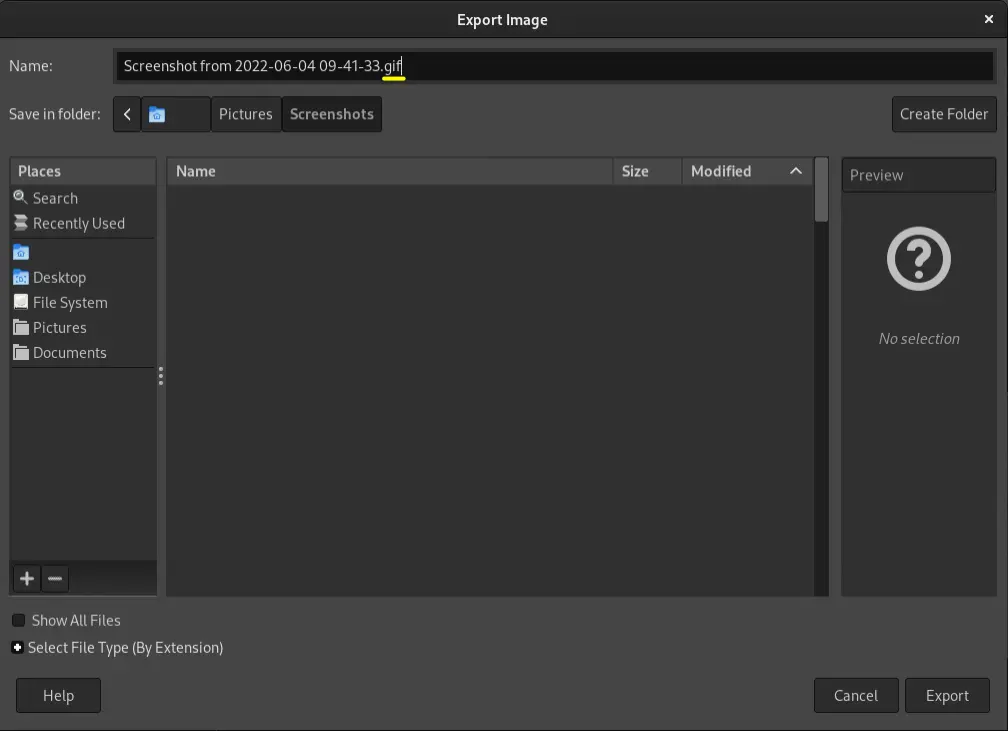
Click Export.
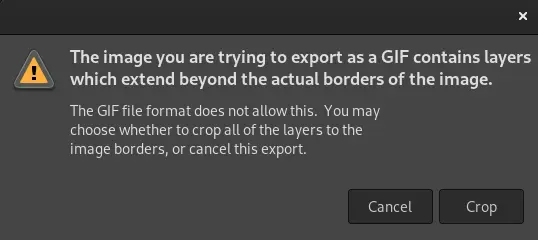
If a warning pops up, click Crop to confirm.
Check the As animation checkbox.
Change the delay to 600 or 1000 milliseconds to get best results.
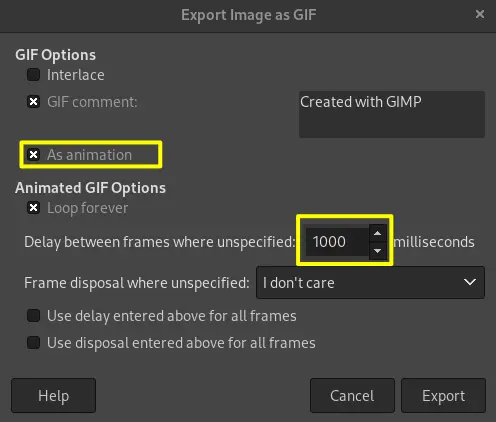
Confirm the changes with Export.
Additional
- To make an image appear twice as long as the standard time frame, just duplicate the layer
- For mastodon, MP4 works better than GIF, so convert it prior to uploading with
ffmpeg -i input.gif output.mp42 in the terminal or use an online converter.